Table of Contents
Isn't the help you are looking for in the list? Feel free to contact me at geckoanton37@gmail.com.
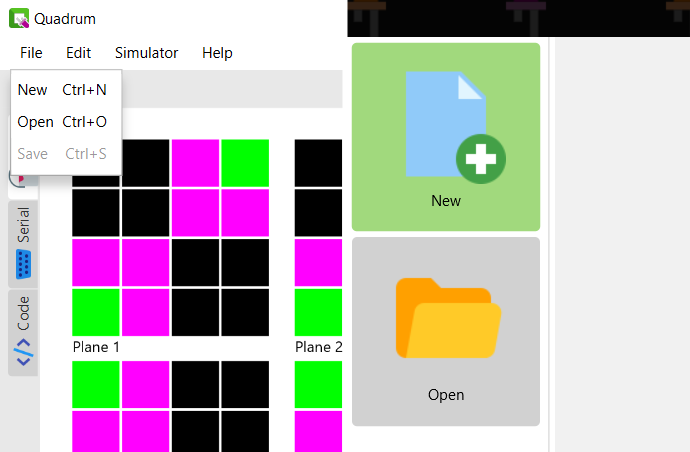
Create New Project

If you are on the welcome screen, press the green button New on the left side of the screen. If you are already in the editor go to File > New from the menu at the top.
This will open the New Project setup wizard. Select the cube side of choice by clicking on the squares to the left, alternatively increment/decrement the cube side with the left and right arrow buttons. Give the project a name in the bottom text field and press Create.
Save and Open Project
To save a project go to File > Save from the menu at the top. When opening a saved project go to File > Open instead. If you are on the welcome screen, click the Open button to open a project.
Paint Animation
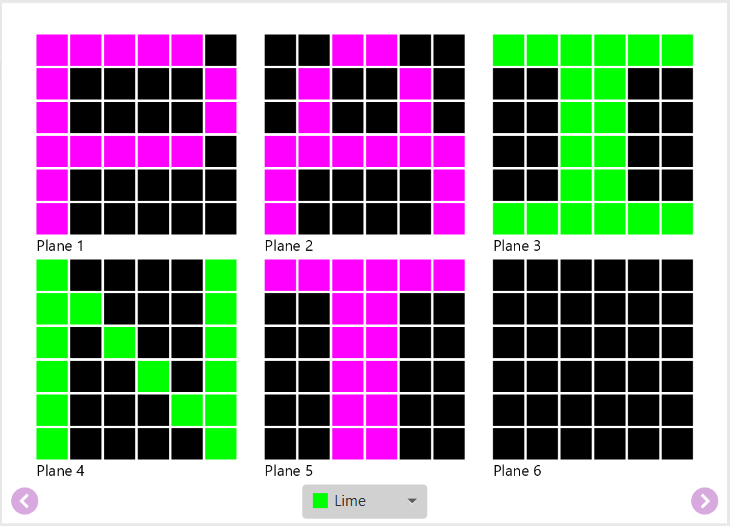
The Paint tools are located under the Paint tab to the left. The cube will be sliced up in planes from top to bottom, click on a pixel in its plane to paint it and the simulator will directly update this pixel to the right. If the cube has a large enough cube side all plains may not be visible at once, to scroll through them use the left and right arrow buttons below the planes.
To change the paint color, click on the color picker in between the right and left plane-selecting buttons. If your cube only has support for one color, the editor will ignore the colors when streaming/generating code and instead treat the pixels as gray-scale.
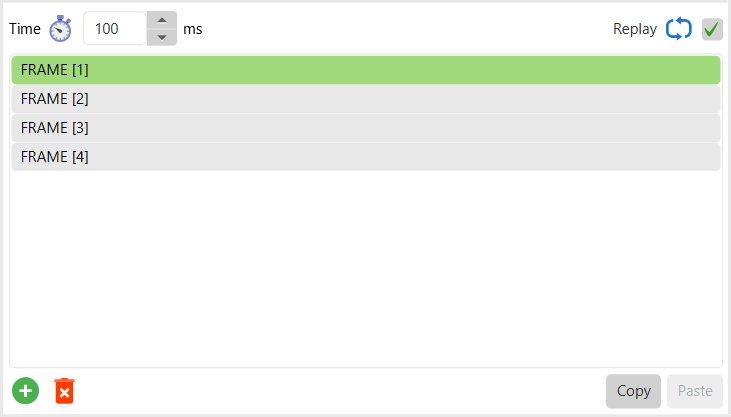
Below the sliced planes you find setting such as how long (in milliseconds) the currently selected frame will be displayed and whether the animation shall replay itself over and over again.
Next there is the frames list, click on a frame in the list to select it. Add a new frame with the + button in the botom left corner, remove the current frame with the x button next to the add button. The copy and paste buttons are located to the right of the add/remove buttons, copy will copy the current frame and paste will paste the copied frame to the current frame.
Serial Streaming
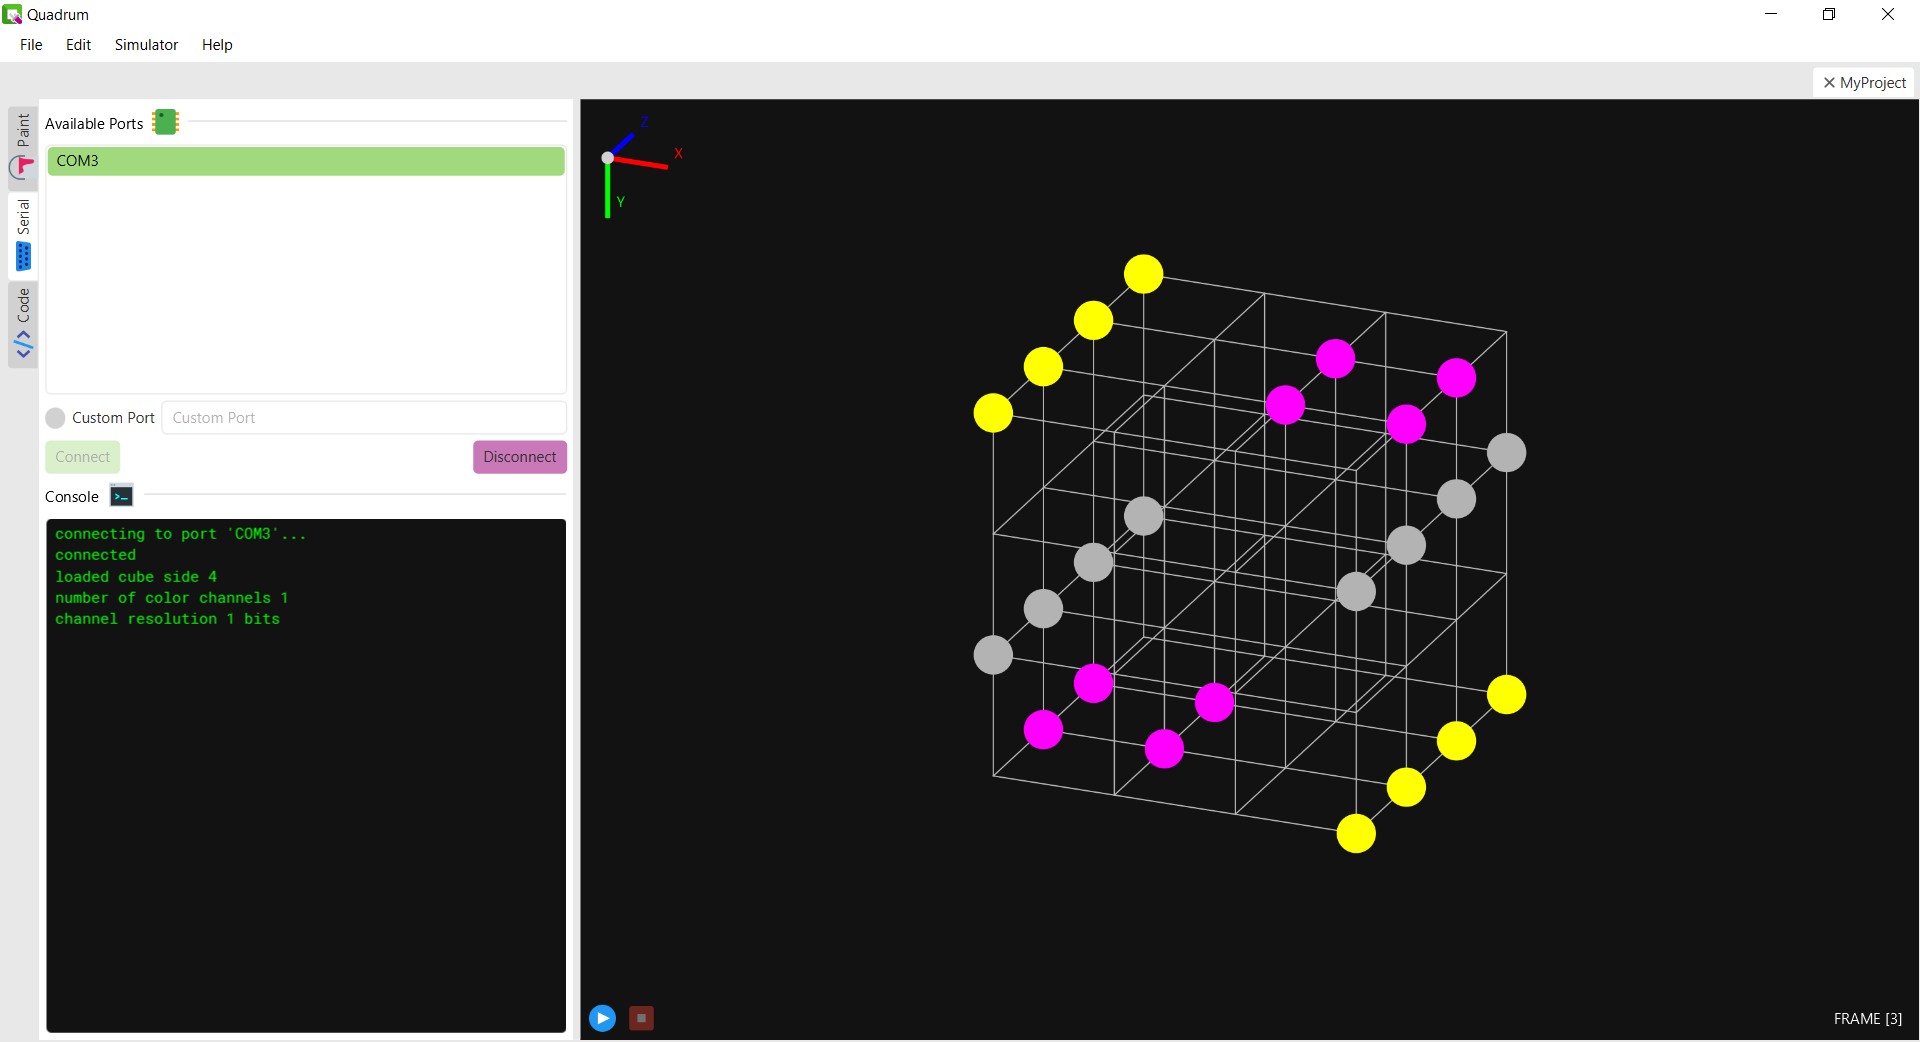
To be able to stream animations to the cube the Quadrum editor must be connected to the Arduino. Connect to it by pluging the USB-cable to the computer, the cube will show up in the Available Ports list. Click on the cube in the list and then click Connect. The console will give you the current status of the connection, if something isn't working check out the serial page.
When a connection has been established you can stream the current project by clicking on Simulator > Play from the menu at the top.
Generating Code
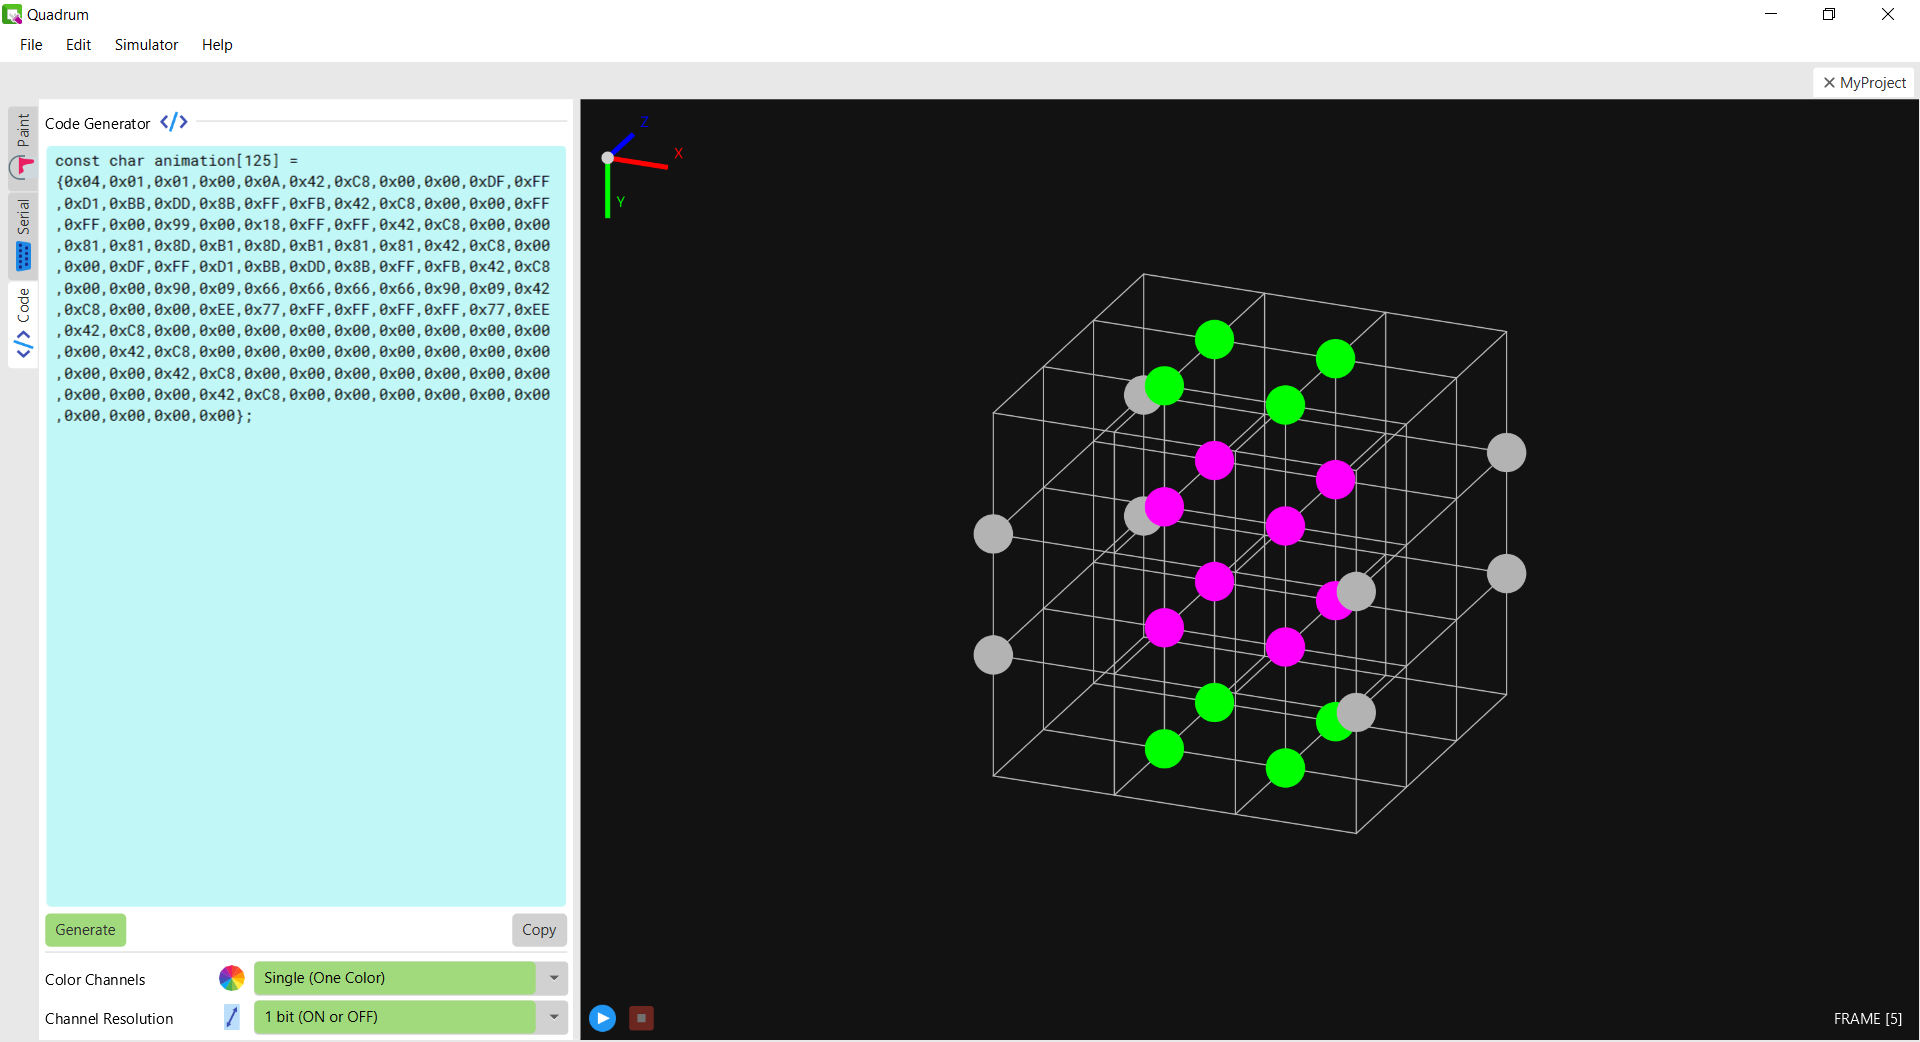
To upload an animation with an Arduino sketch you can implement the QuadrumCode library, follow this tutorial to see how it can be done. The library will require a uint8_t array containg the animation data which can be generated under the Code tab in the editor.
At the bottom of the Code tab there are two settings that must match with your cube; the first specifies the number of channels (colors) each LED in the cube has, and the second sets the resolution of each channel. Make sure to read the tutorial if you are unsure of what these settings mean.
Once the settings are set up correctly and the cube side in the editor matches the side of your cube (i.e. a 4x4x4 cube must get its animation from a 4x4x4 project in the editor) you can generate the code by clicking the Generate button. Copy and paste the code into the arduino sketch.